[embedvideo id=”75723390″ website=”vimeo”]
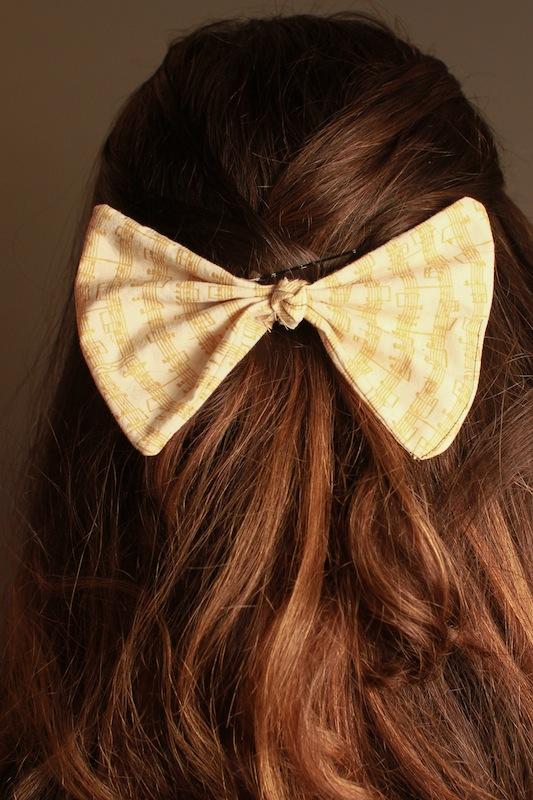
Bows: the timeless accessory that never goes out of style. Bows can transform a modern casual outfit into a retro vintage ensemble. In this simple DIY, “do it yourself,” you will learn the steps in making the perfect bow.
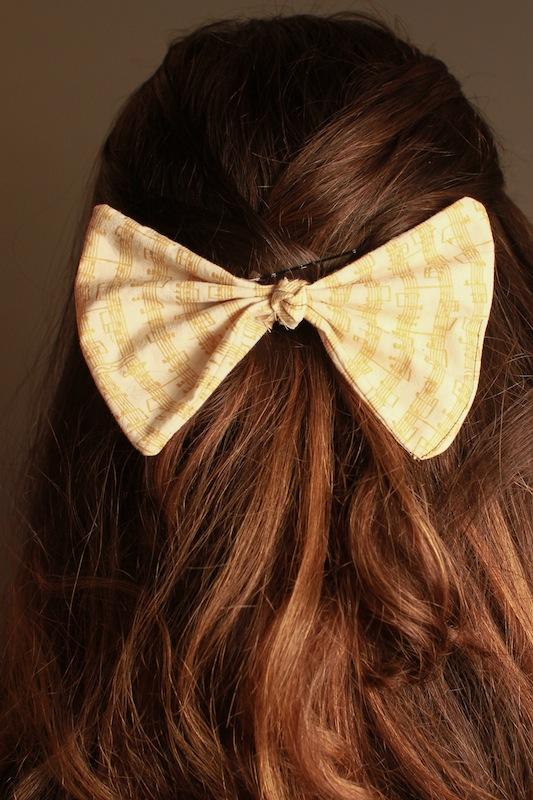
You will need:
* a scrap fabric of your choice
* a needle and thread or a sewing machine
* fabric scissors
* a hair clip or barrette
* a hot glue gun
Steps to making the perfect bow:
1. Begin by cutting two 5”x7” pieces of fabric.
2. Once you’ve cut the fabric, line up the two pieces. Make sure to line up the fabric with the pattern facing inward
3. Pin the fabric in place in each corner of the fabric.
4. Now, either hand stitch or use a sewing machine to sew the edges. Leave a 2” space towards the edge of the rectangle so you are able to turn the bow right side out.
5. Turn the bow right side out, so that the fabric side is now showing.
6. Sew the remaining open corner.
7. Pinch the rectangle in the middle, adjust the bow shape if needed and pin in place.
8. Next, cut a strip of the same fabric about 3” long.
9. Tie the strip into a knot, however don’t tie too tightly because it looks better when tied loosely.
10. Wrap strip around the center of the bow; where you previously pinned it.
11. Secure by sewing the strip around the center.
12. Use the hot glue gun to glue the clip to the back of the bow. Make sure the glue gun is hot for the best results.
13. Let the glue cool and pick out an outfit to go with your cute new bow.
.
Video Credit: Aysen Tan and Emily Chacon/The Foothill Dragon Press

